
Zulip Redmine integration
Get notifications for Redmine issues in Zulip!
-
Create a bot for Redmine. Make sure that you select Incoming webhook as the Bot type.
-
Decide where to send Redmine notifications, and generate the integration URL.
-
Install the
redmine_webhookplugin on your Redmine server. -
In your Redmine installation, go to Projects and select the project you want to receive notifications for.
-
From the project page, enable the Webhooks checkbox to activate webhook functionality. Click on Settings, and navigate to the WebHook tab.
-
Add the URL generated above, select the events you would like to receive notifications for, and save your webhook configuration.
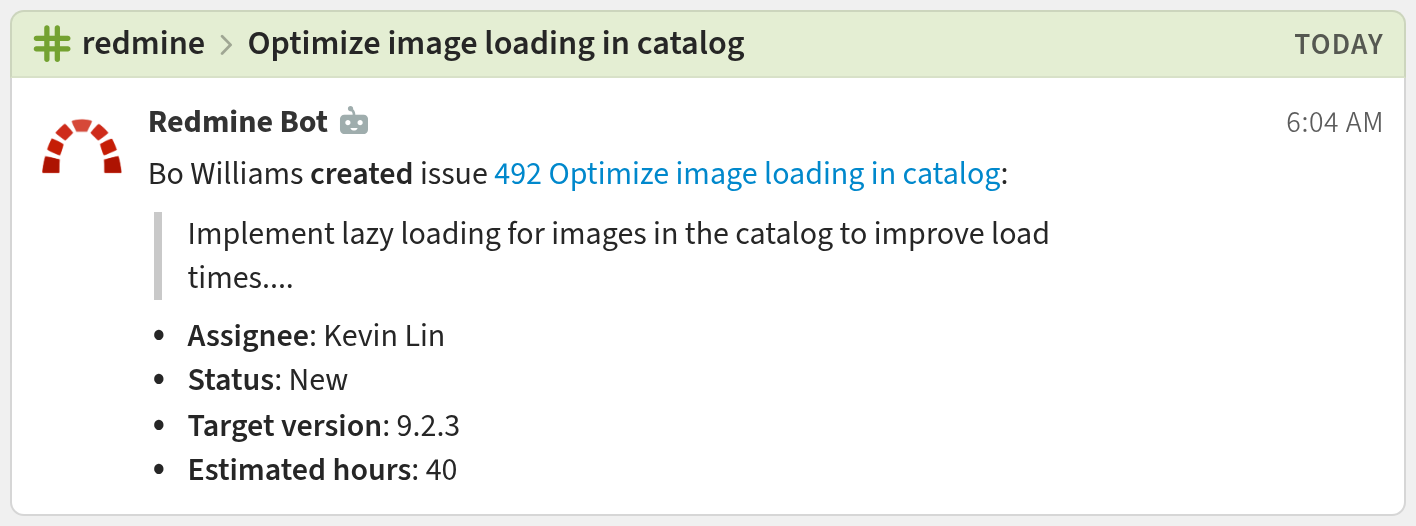
You're done! Your Redmine notifications may look like this:
Filtering incoming events
The Redmine integration supports filtering for the following events:
opened, updated
Related documentation
Logos are trademarks of their respective owners. None of the integrations on this page are created by, affiliated with, or supported by the companies represented by the logos.